Bill of Materials Import Utility - Step 2 : Map Columns
Step 2: Map the Columns
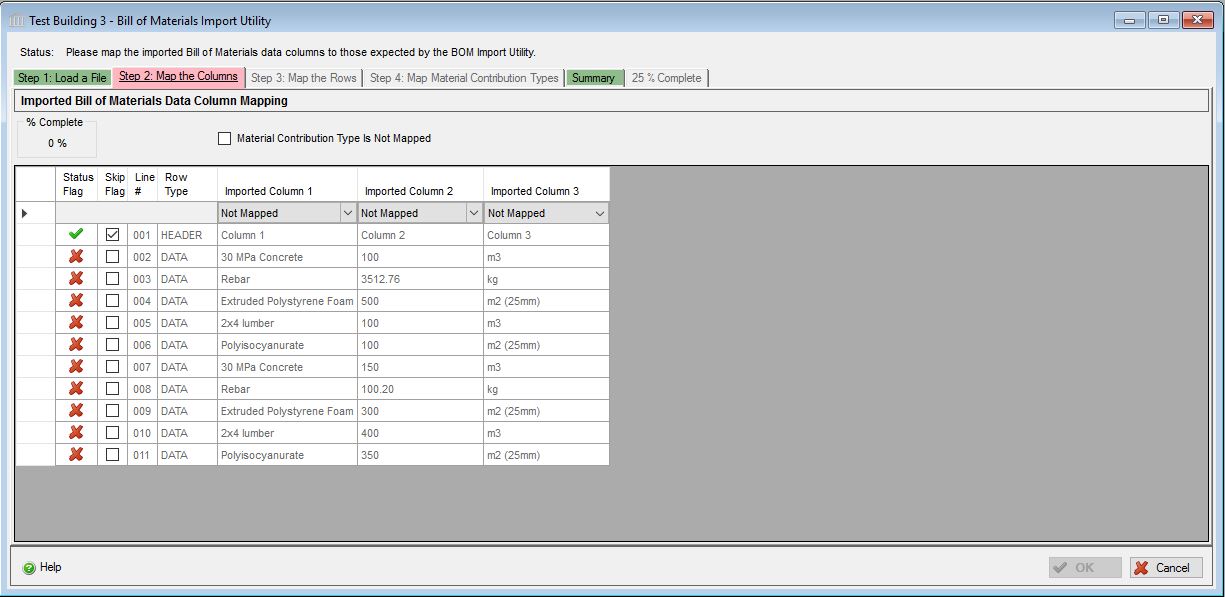
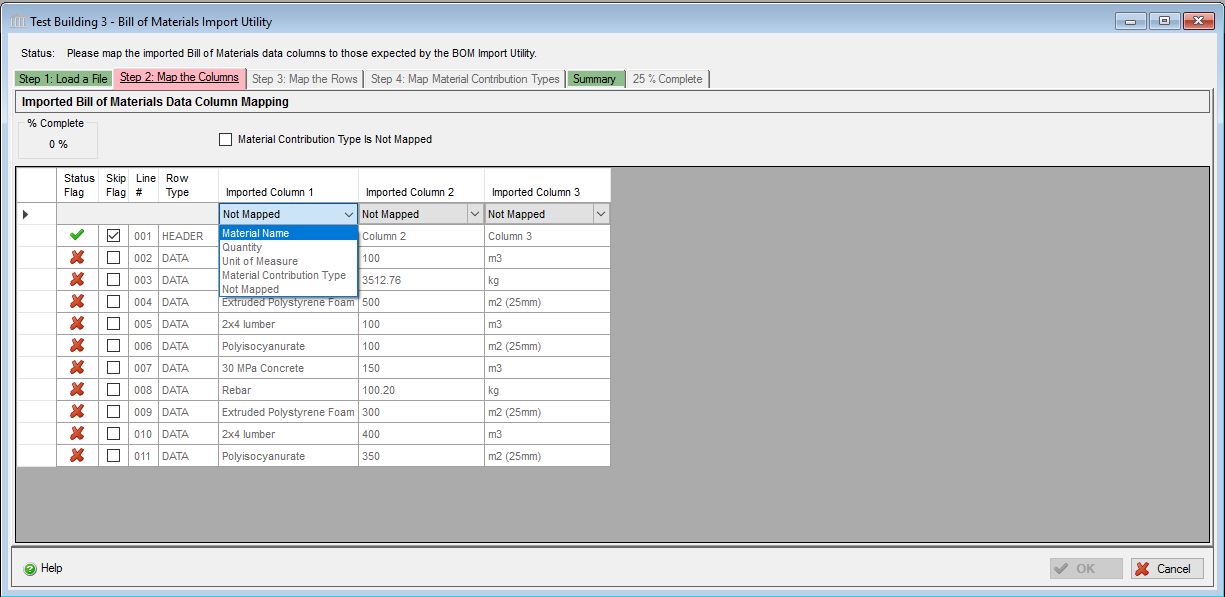
The second tab is dedicated to mapping the imported file columns to one of the three mandatory data types that all Bill of Material files need to contain, namely Material Name, Quantity and Unit of Measure, plus the optional Material Contribution Type.
If the user has made the effort to synchronize the header column names in the imported file with those to which they will be mapped, the columns will be automatically mapped.
If the source file does not contain Material Contribution Type information, the "Material Contribution Type is Not Mapped" checkbox should be checked in order to proceed to step #3.
The user can optionally select DATA (or other) rows to skip. This may be necessary if additional non-data rows are embedded between data rows. This is possible for each of the steps.
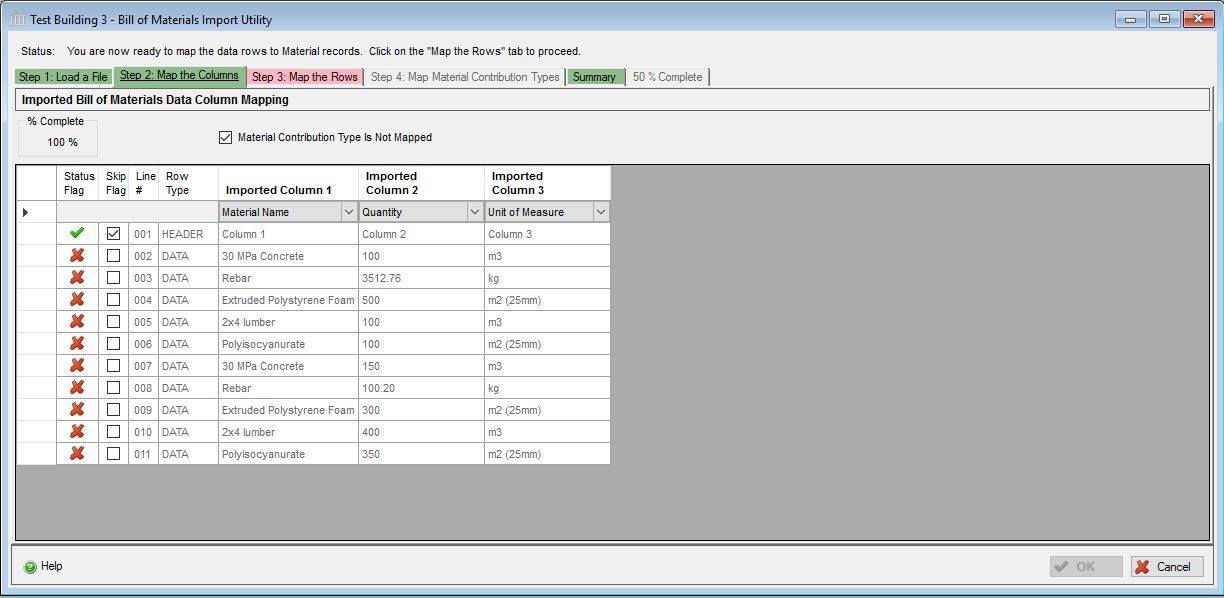
Once all of the 3 required columns have been mapped and either the Material Contribution Type column is mapped or "Material Contribution Type is Not Mapped" checkbox is checked, the "Step 3: Map the Rows" tab becomes accessible.
Note: The Quantity column must only contain numerical values. For example, cell values such as "1.5 m2" will not be accepted. In other words, the "Quantity" and "Unit of Measure" (UOM) data must be in separate columns.
- Map Columns
-
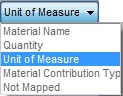
- Select from the dropdown list of "BOM Columns" to optionally map a column to to one of the three that all Bill of Material files need to contain, namely Material Name, Quantity and Unit of Measure. Then optionally map a column to the "Material Contribution Type" or check the "Material Contribution Type is Not Mapped" checkbox.
- Help Button
- Click the "Help" button to open the Help pop-up window.
OK Button- Click the "OK" button to accept and save the imported Bill of Materials data to an "Extra Basic Materials" assembly and close this dialog. This button is only enabled once all "Step 3 : Map Rows" is complete.
Cancel Button- Click the "OK" button to accept and save the imported Bill of Materials data to an "Extra Basic Materials" assembly and close this dialog. This button is only enabled once the Status Flag for all rows in "Step 3 : Map Rows" are complete.
Bill of Material Import Utility Tabs
- Step 1: Load a File.
- Step 2: Map the Columns.
- Step 3: Map the Rows.
- Step 4: Map the Material Contribution Types
- Summary.