Add an Assembly
Once a project is created, the user may begin to define the geometry and space for the building to be simulated in the Impact Estimator by defining various assembly components for the project. The Impact Estimator offers more than 1200 unique structural assembly options.
You can define assemblies from the Tree Control Window, the Main Menu, or the Toolbar.
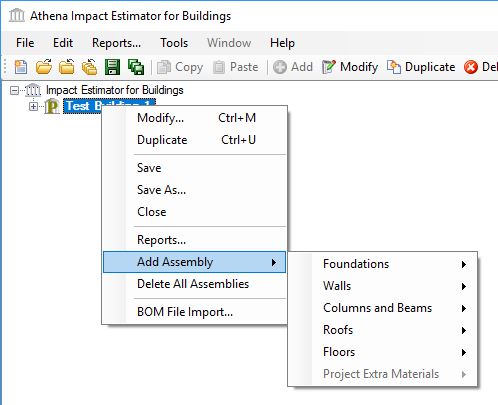
To define assemblies from the Tree Control Window:
- Click on a Project level object in the Impact Estimator Tree Control Window to highlight it and then right click on it to activate the right click menu.
- Move your mouse pointer down to "Add Assembly" menu item, a sub-menu listing various assembly types will appear to the right.
- Move your mouse over the assembly type sub-menu and pick an assembly to be defined.
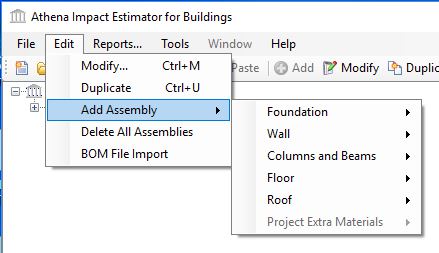
To define assemblies from the Main Menu:
- Select "Edit" from the Main Menu.
- Select "Add Assembly" from the "Edit" submenu
- Select an assembly type.
- Select the specific assembly that you wish to define.
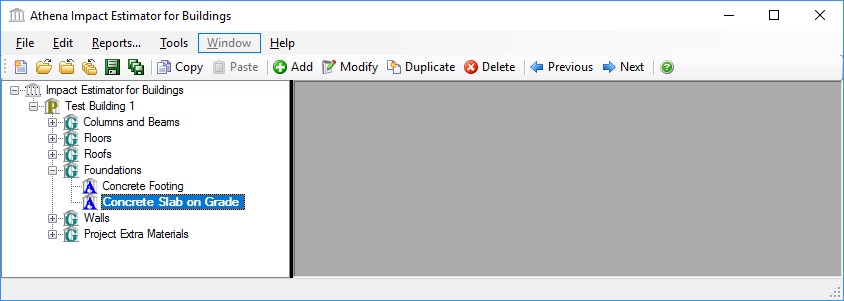
To define assemblies from the Toolbar:
You can only define Assemblies using the "Add" tool bar option when an "Assembly" Node is selected. The "Add Assembly" dialog that opens will correspond to the Assembly Type of the Assembly Node that was selected in the Tree Control Window.
- Select an Assembly Node from the Tree Control Window.
- Select "Add" from the Toolbar
Available Assembly Types include: