Add or Modify a Roadway Assembly
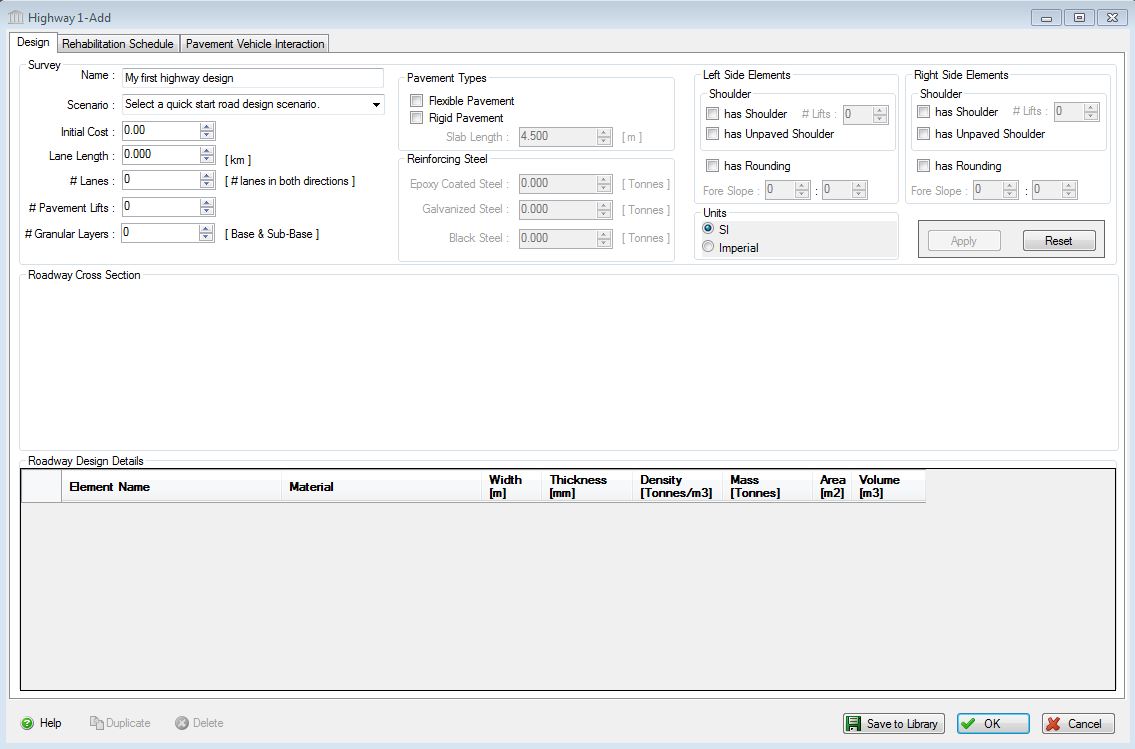
Survey:
Name:- Enter a name for this roadway. All roadways within a
project must be uniquely named within each assembly group. Names may be
alphanumeric (e.g., Section 1).
Scenario:- Choose
from a list of predefined database, or user created roadway designs
from the design library, if you do not want to design a roadway from
scratch.
Roadway Is Divided:- Check this box if the design is for a divided roadway.
- Lane Length:
- Enter the length, in kilometers, of the roadway design.
- # Lanes:
- Enter the number of lanes, in one direction of the roadway design.
- # Pavement Lifts:
- Enter the number of pavement lifts to be applied to the lanes only.
- # Granular Layers:
- Enter the number of granular layers of base and sub-base. This does not include any granular layers below shoulders.
- Pavement Type:
- Choose
a pavement type, rigid or flexible, for the roadway design.
If the design call for both types (e.g. rigid lanes and flexible
shouders), check both boxes.
- Set Slab Length (the distance between transverse joints in rigid pavement roadways).
Reinforcing Dowels:- Enter, in tonnes, the mass of epoxy coated or galvanized steel reinforcing dowels and tie bars for rigid pavements for the roadway design.
The program does not calculate the amount of steel for the roadway, but an Excel tool has been included during instalation to help you do this separately. It is called "Athena Pavement LCA - Steel Calculator.xlsx", and can be found in
the \Documents\Athena\Pavement LCA folder on your hard drive. You can copy the result(s) from this tool into the appropriate steel type box
- Left/Right Side Elements:
- Both
left and right side elements operate in the same way. If there is
a paved shoulder, check "Has Shoulder" and enter the number of pavement
lifts for the shoulder. If there is an unpaved shoulder, check
"Has Unpaved Shoulder". If there is rounding, check "Has
Rounding" and enter the fore slope of the rounding/ditch.
Units:- Here you can set the units of
measure as either "SI" or "Imperial". Changing the default units here
affects only the current assembly but will not override the Default
Units of Measure nor the Units of Measure settings for open projects or
any other assemblies within open projects.
Apply:- Click Apply to update your changes to the Roadway Cross Section. Edits or changes will not be saved unless the Apply button is pressed.
Reset:- Choose Reset to empty all fields and start over.
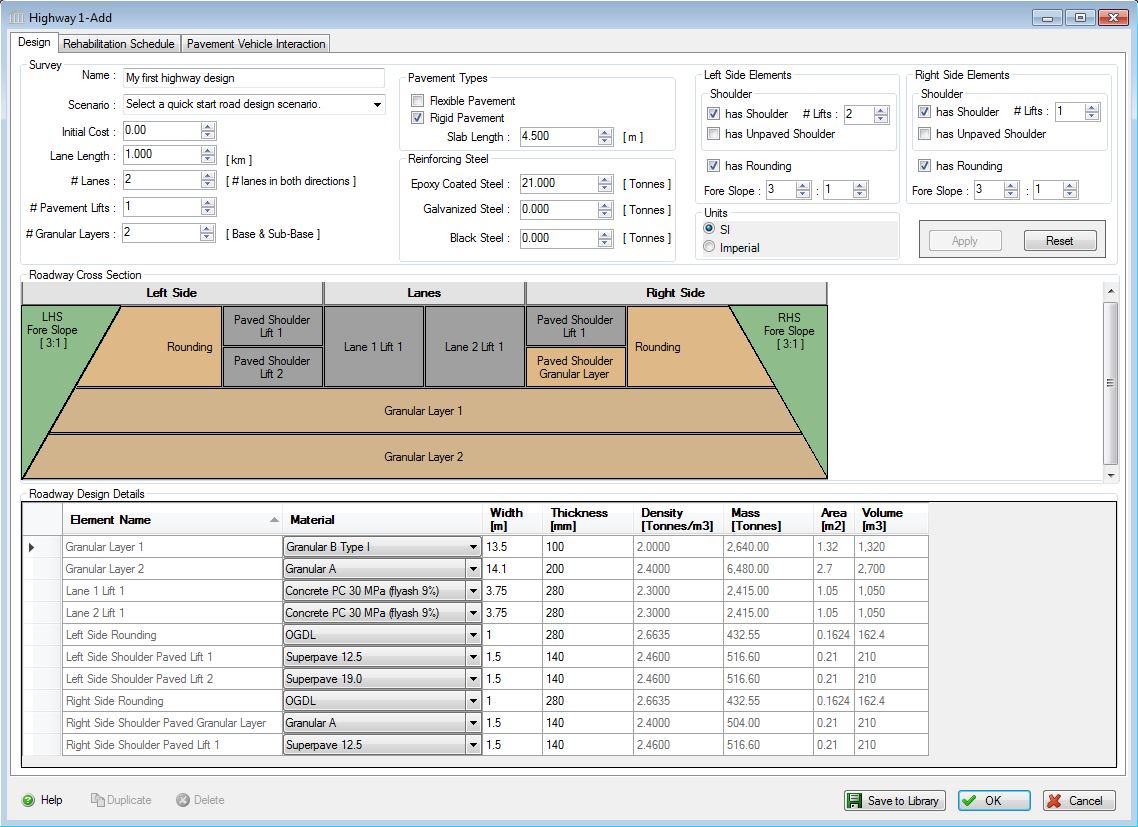
Roadway Cross Section:
- The Roadway Cross Section is a schematic representation of the roadway's cross section, according to the entries in the Survey section of the Design form.
- It is not a scaled drawing, just a visual aid to help the user design the roadway.
- The details (width, thickness etc.) of each element are presented (and edited) below in the Roadway Design Details table.
- Clicking on the Roadway Cross Section navigation diagram immediately activates and selects the corresponding row in the Roadway Design Details table.
Roadway Design Details:
This table can be sorted by clicking on any column heading.
Element Name:- This is populated automatically with elements from the Roadway Cross Section, and cannot be edited.
Material:- Choose the material type for the current element, in this column.
Width:- Enter the width, in meters, of the current element, in this column.
The width is the bottom width for elements with sloping edges.
The slope is taken into account when calculating
the material volume for each element, but there is no verification that
the bottom width of the element above is equal to the top width of the
current element.
Thickness:- Enter the thickness of the current element, in millimeters, in this column.
Density:- This columns shows the density, in Tonnes/m3, of the material
chosen for the current element. You cannot edit this database
value.
Mass:- This column shows the mass, in tonnes, of the material chosen for
the current element. You cannot edit this calculated value. See also "umber of Beams" field above.
Area:- This column shows the cross sectional area, in m2, of the current element, i.e., the Width column times the Thickness column. You cannot
edit this calculated value.
Volume:- This column shows the volume, in m3, of the current element, i.e., the Width column times the Thickness column times the Lane Length. You cannot
edit this calculated value.
Buttons:
Save to Library:- Click this button to save the current design to the roadway
library. Anyuser library designs are available, along with
the database designs, in the Scenario drop down list in the Survey
section of this dialog and will be available in any new or existing
projects.
Duplicate Button- Click the "Duplicate" button to create an exact duplicate
of the current assembly. The duplicate assembly will be added to the
current project. This button is only available when editing or viewing
an assembly that has already been saved in the current project.
Delete Button- Click the "Delete" button to delete the current assembly
from the current project. This button is only available when editing or
viewing an assembly that has already been saved in the current project.
Help Button:- Click the "Help" button to open the Help pop-up window.
OK Button- Click the "OK" button to accept and save the current design settings and close this dialog.
Cancel Button- Click the "Cancel" button to discard the current assembly
settings and close this dialog.